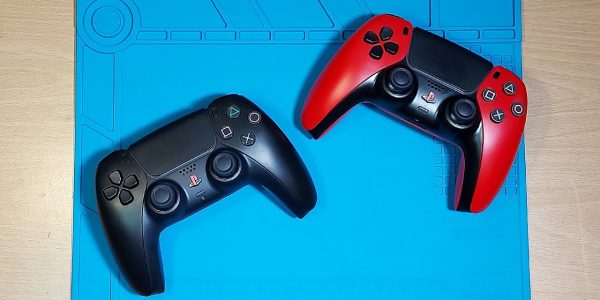
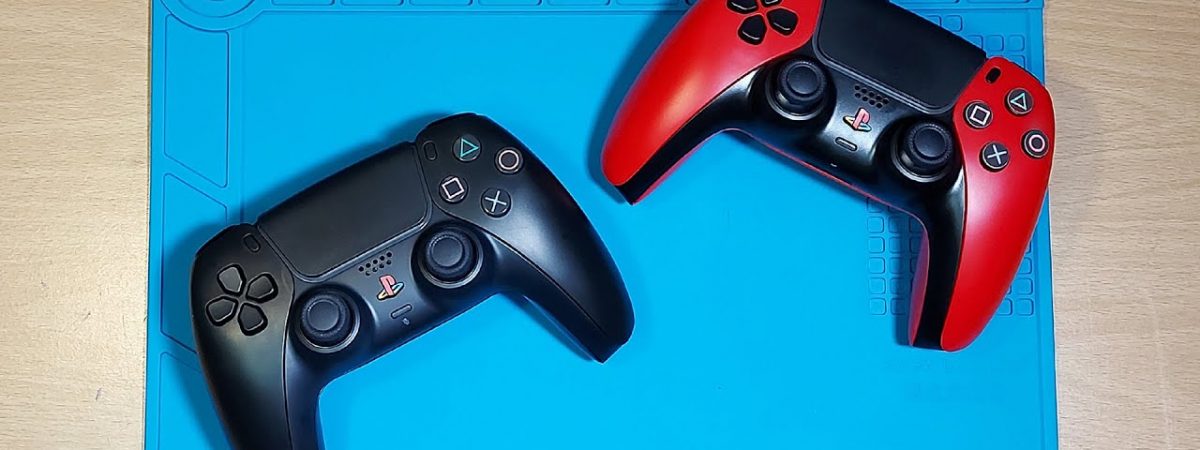


Need to make a repair to your PS5 controller? It is not too hard to open it up and access its innards. In this post, we will be explaining how to disassemble a PS5 controller step-by-step. Keep in mind, however, that disassembling the DualSense means you will be voiding your warranty. So, you will need to decide whether you are comfortable with that risk or not before proceeding.
How to Disassemble a PS5 Controller
1. Looking at your controller, you will notice that there is a black cover section. You need to remove that section.
To do this, you have to pry it off using a flat tool. The easiest place to start prying is at the ends of the handles. Once you create some space there, you can work your way toward the middle, and then pull it up and off.
2. Next, use the same flat tool to carefully pry off L1 and R1. Insert it between L1/L2 and R1/R2 to remove the buttons.
3. There will now be two screws accessible where L1 and R1 used to be. Set the controller upside-down and remove them. You want to do it with the controller in this position so that you do not risk the screws dropping into the controller. Put them somewhere safe while you work, like inside a little plastic bag.
4. Look on the bottoms of the handles. You will see two more screws there. Remove them.
5. Push the flat tool in along both sides of the controller to create separation at the seams.
6. Close to the microphone are a pair of retention tabs. Use the flat tool to get underneath them. You can now completely pull the white cover off. It is easiest to start near the handles.
7. You can gently lift up on the battery to pull it aside (no tools required). To totally remove it, however, you will probably need tweezers. If you are trying to remove it by hand, you might tear the wires.
8. There is a black piece of plastic exposed when you remove the battery. Remove the screw to remove the piece. Once again, there is a wire to deal with, so use tweezers if necessary.
9. Finally, you will find yourself looking at the PCB. Disconnect everything you see, and then use your hands to lift the PCB.
You now have access directly to the USB port and the thumbsticks. If you need to get at the LED lighting, there are a few more screws you will need to remove.
You also at this point have the option of removing the top cover if you need to repair the touch panel, D-pad and button panel.
Once you are done with your repairs, you will just need to reverse all of the steps above to put your PS5 controller back together.
Now you know how to disassemble a PS5 controller. As you can see, it is not all that tricky so long as you have the right tools and a bit of patience. For more news and guides related to all things PlayStation, visit our PlayStation news area.