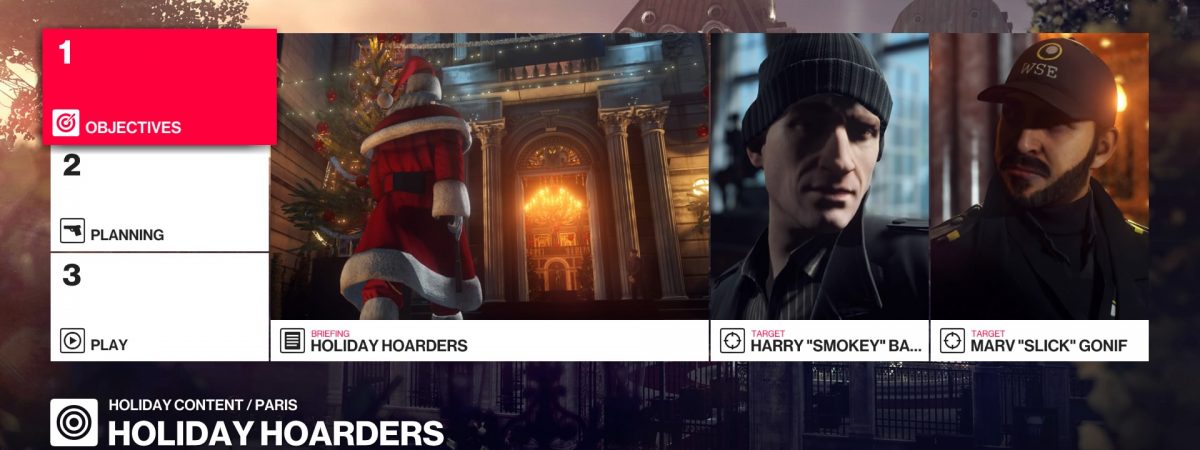
As a special holiday surprise for Hitman 2 players, Io Interactive has brought back the Holiday Hoarders bonus mission. This mission, which originally appeared in 2016’s Hitman, features a special Christmas-themed version of Hitman’s Paris location. Players must find and eliminate a pair of thieves named Harry and Marv (a clear reference to Home Alone).
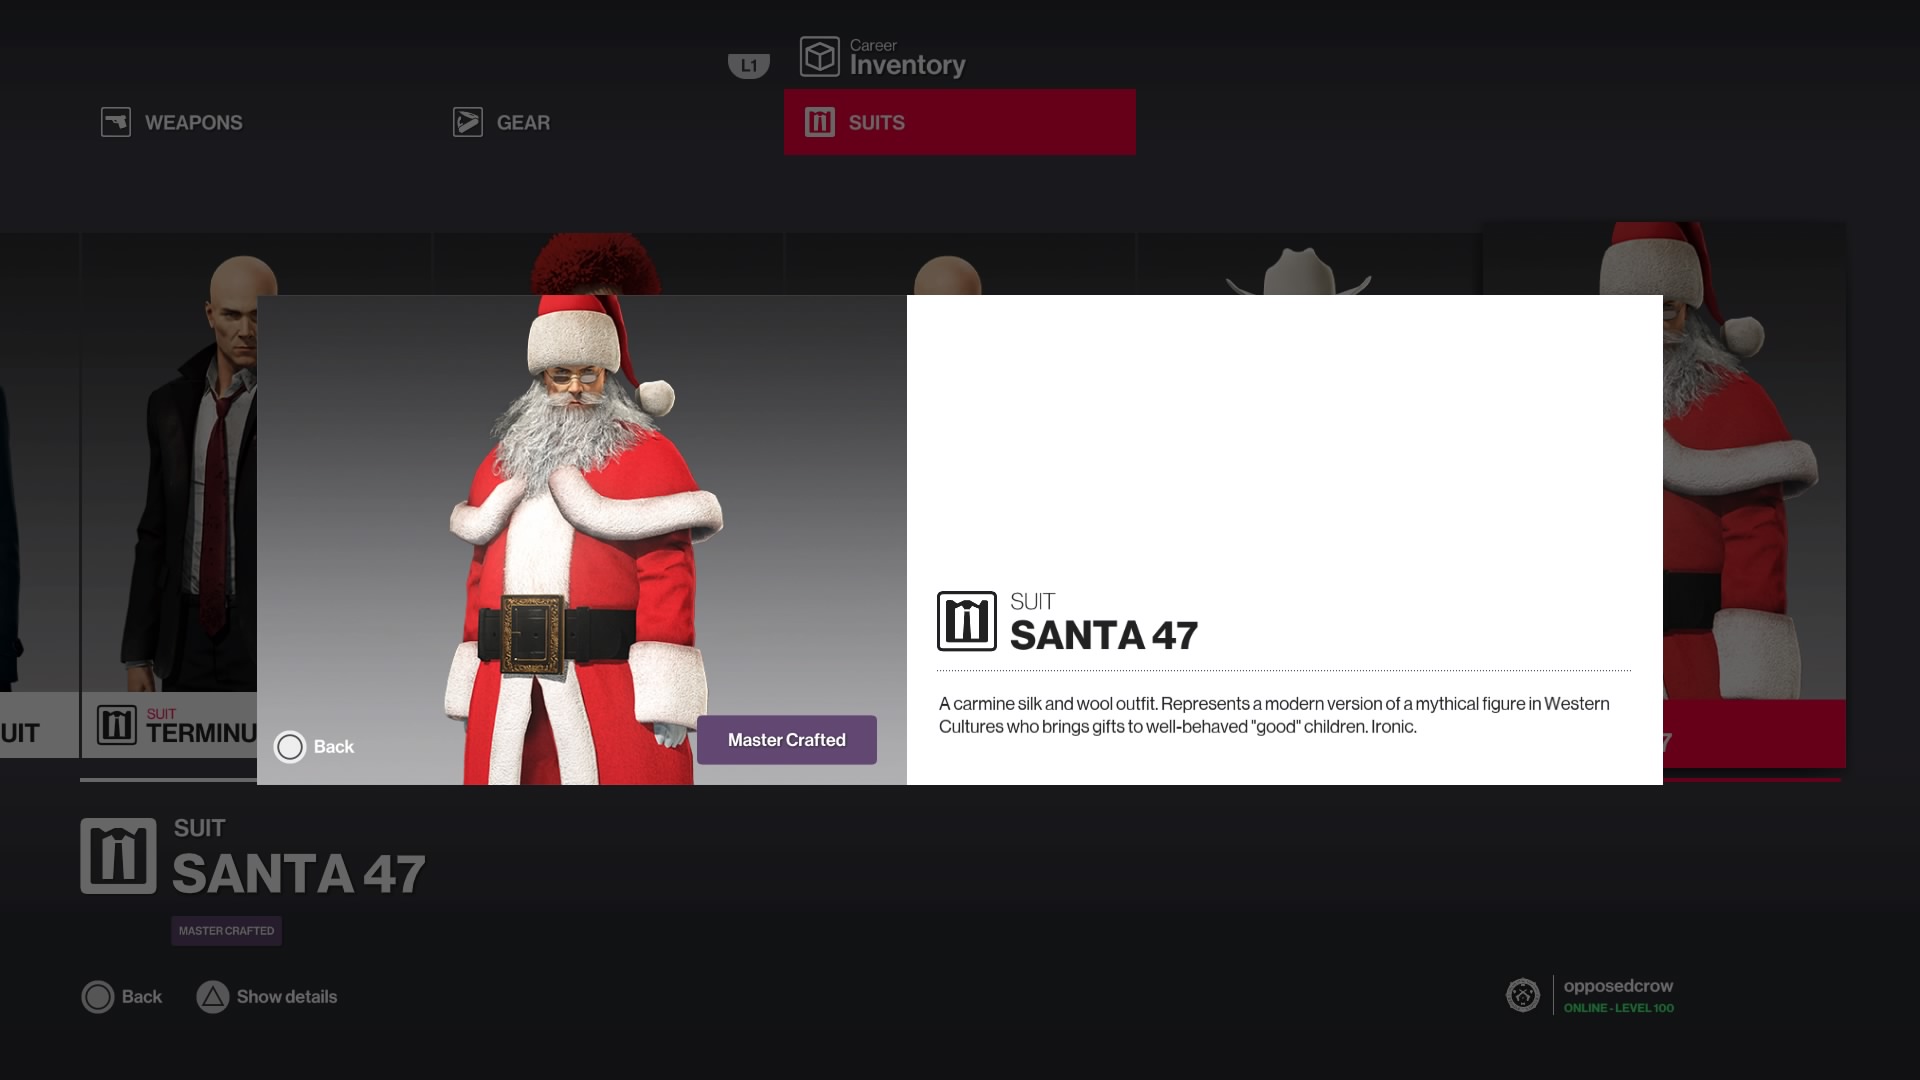
The Holiday Hoarders mission also includes a series of ‘Secret Santa’ challenges. Completing all of these challenges unlocks a permanent ‘Santa 47’ suit which is usable in all missions henceforth. In this guide, we’ll show you how to complete all the Secret Santa challenges and unlock the Santa 47 suit.

Hitman 2 Secret Santa Challenges
Before you start the Holiday Hoarders mission, make sure you’ve unlocked the kitchen starting location for Hitman 2’s Paris level. Doing so is fairly easy since the kitchen is literally the first Mastery reward you unlock for Paris. Also, make sure you have any silenced pistol (doesn’t matter which) equipped.
Bad 47
This challenge involves “pacifying” the thief Marv with a brick three times (yet another clever Home Alone reference). Thankfully, Marv begins the mission down in the basement, the same area where the kitchen is located. Also in the basement is where you’ll find the three bricks needed to pacify Marv.
When the mission boots up, turn around and head out the kitchen’s southern exit. Down the hall, you’ll see a security guard walking towards you. Behind him is a security room with a large present inside, and inside that present are the three bricks you need. Grab the fire extinguisher off the wall and wait as the guard enters the room to your left. When he reemerges and walks back towards the security room, knock him out from behind with the extinguisher.
Dump the unconscious guard in the nearby crate to your left and take his disguise. Now you can enter the security room inconspicuously. Just be mindful of any guards with a white dot over their heads since they can see through your disguise. Open the large present, grab the three bricks, and use Instinct mode to locate Marv. Throw a brick at Marv to knock him out and wait for an NPC to revive him. Do this a total of three times and the Bad 47 challenge is complete.
Ho Ho Ho
This challenge involves finding and taking 12 different items before the thieves can steal them. Time is of the essence so you have to move quickly, but the route you’ll take isn’t terribly complicated. Again, you’ll want to start in the kitchen, and make sure you equip the lockpick in your starting loadout.
Items 1-4
This time, when the mission loads out, grab the Apricot on the kitchen counter to your right (the first item). Then, follow the same steps as the Bad 47 challenge, only this time follow the guard into the side room. Inside the large side room you’ll see a coconut on the counter to the left (the second item). Knock out the guard, hide his body, and take his disguise.
Turn back towards the kitchen, head down the hall, and take your second right. Go through the side hall, take another right, and keep going until you reach a locker room. Proceed through the locker room’s southern door and you’ll see a staircase through a doorway slightly to your right. Go up the stairs, through the door, take a left and then immediately your first right through some double-doors.
You should now be in a large room full of antiques. On the western edge of the room is a small model ship with a cannon ball in front of it. Grab the cannon ball since it’s the third item. Turn around and exit through the eastern double-doors directly across from where the model ship is. Navigate the crowd and go through the eastern double-doors directly across from the doors you just ran through. Take an immediate left and on the long horizontal counter is a toy tank (the fourth item).
Items 5-8
Exit out of the toy tank room through the northern double-doors and keep heading north. You’ll eventually enter the massive main party room. As soon as you enter the room, you’ll see an ice sculpture with an axe embedded in it. Take the axe (the fifth item) and then run towards the northwestern end of the room (towards the bar). Exit out the northwestern doorway and turn so you’re heading north again. Directly ahead is a clothes rack with a shuriken star hanging on it (the sixth item).
Turn west and head down the hallway until you can turn left. After you turn left, immediately turn left again to find some double-doors you can go through. Head through and up the stairs, take a left, and you’ll see the fireworks control panel. Take the fireworks detonator (the seventh item) off the control panel.
Turn back towards the northern hallway, take a right, and then a left through a pair of open double-doors. You should now be in a large room with some display counters and a Christmas tree adjacent to the wall. To the right of the tree are some boxes with large rolls of paper. Hidden in those boxes is a circumcision knife (the eighth item).
Items 9-12
Exit the room out the doors you entered through and turn to the right. Take your first left back towards the fireworks control panel. This time, however, keep going south and take the first pair of double doors to your right. Head south into the adjoining room and if you’ve been making good time Santa should be facing the nearby fireplace. Take the police baton off the table and use it to knock out both Santa and the nearby guard. Make sure to retrieve the axe if you dropped it.
Grab Santa’s outfit (you’ll need it for an upcoming challenge) and then exit out the southern double-doors. Keep going south through another pair of double-doors, take a left, and then a right through yet another double-door set. Head through the antique storage room (being careful to avoid the guard) and exit through the southern door. Go through the office onto the southern balcony, turn to your right, and head up the ladder.
The ladder leads up to the mansion’s attic which is where the final four items are all found. In fact, as soon as you move off the ladder into the attic, look on a table to your left. You should spot a small cowboy bust (the ninth item). Head into the main attic area and keep going north, making sure to avoid the guards. A little ways northwest, embedded in some other junk, is a saber (the tenth item). Stow the saber on your back so you can keep holding the axe.
On the computer terminal to the north is another small bust (the eleventh item). Again, be very careful about avoiding the patrolling guards as they will shoot you on sight. With the bust in hand, turn around and head south and then down the eastern attic passage. Pass by one pair of guards and directly ahead of you is another pair standing near a pile of boxes. On the eastern edge of those boxes, sort of hidden, is a microphone (the twelfth and final item).
Note that the challenge only triggers if you have all 12 items on your person. If you dropped the axe at any point, you have to retrieve it for the challenge criteria to be met.
Santa’s Little Helper
This challenge is a direct follow-up to the Ho Ho Ho challenge. In fact, this challenge can only be done in the same instance as Ho Ho Ho. This is because Santa’s Little Helper is predicated on the two thieves not finding any of their desired items.
Once you’ve nabbed all the Ho Ho Ho items, exit out of the attic through the way you came in. Head back down the ladder, through the antique storage room, and through the double-doors. Take an immediate left and you’ll spot an open window you can climb through. Climb onto the railing and slide down the pipe to your left. Now’s also a great time to ditch the saber if it’s still stowed on your back.
Head down the stairs and use the lockpick to bypass the door at the bottom. Run along the eastern basement passageway and take your first available right into the stairwell. Go up the stairs, through the door, and take an immediate right. As long as you don’t have any illegal items (like the saber) you can roam around this area unimpeded. Take another right and go straight through the double-doors.
Keep going straight and you’ll exit onto an outdoor party gathering area. Head north and slightly east to find a fountain area with a pair of large stone lions. Directly below the lions you’ll see a small fountain and a pair of propane tanks.
Oh Deer
This propane tank area is where you can fulfill the Oh Deer challenge. All you have to do is wait around for the two thieves to show up. Once they realize they can’t find any loot (because you got it first), they’ll go outside to have a meeting. When the two thieves are standing close to the propane tanks, shoot one of the tanks with your silenced pistol. Two shots should trigger an explosion, killing the thieves and completing both the Santa’s Little Helper and Oh Deer challenges.
For more on Hitman 2, be sure to read about the game’s other December content additions.


