The Resident Evil 2 remake’s Ghost Survivors DLC has finally arrived, giving players more horror-filled adventures to embark on. The free DLC expansion contains three scenarios in total, the third of which is titled Forgotten Soldier.
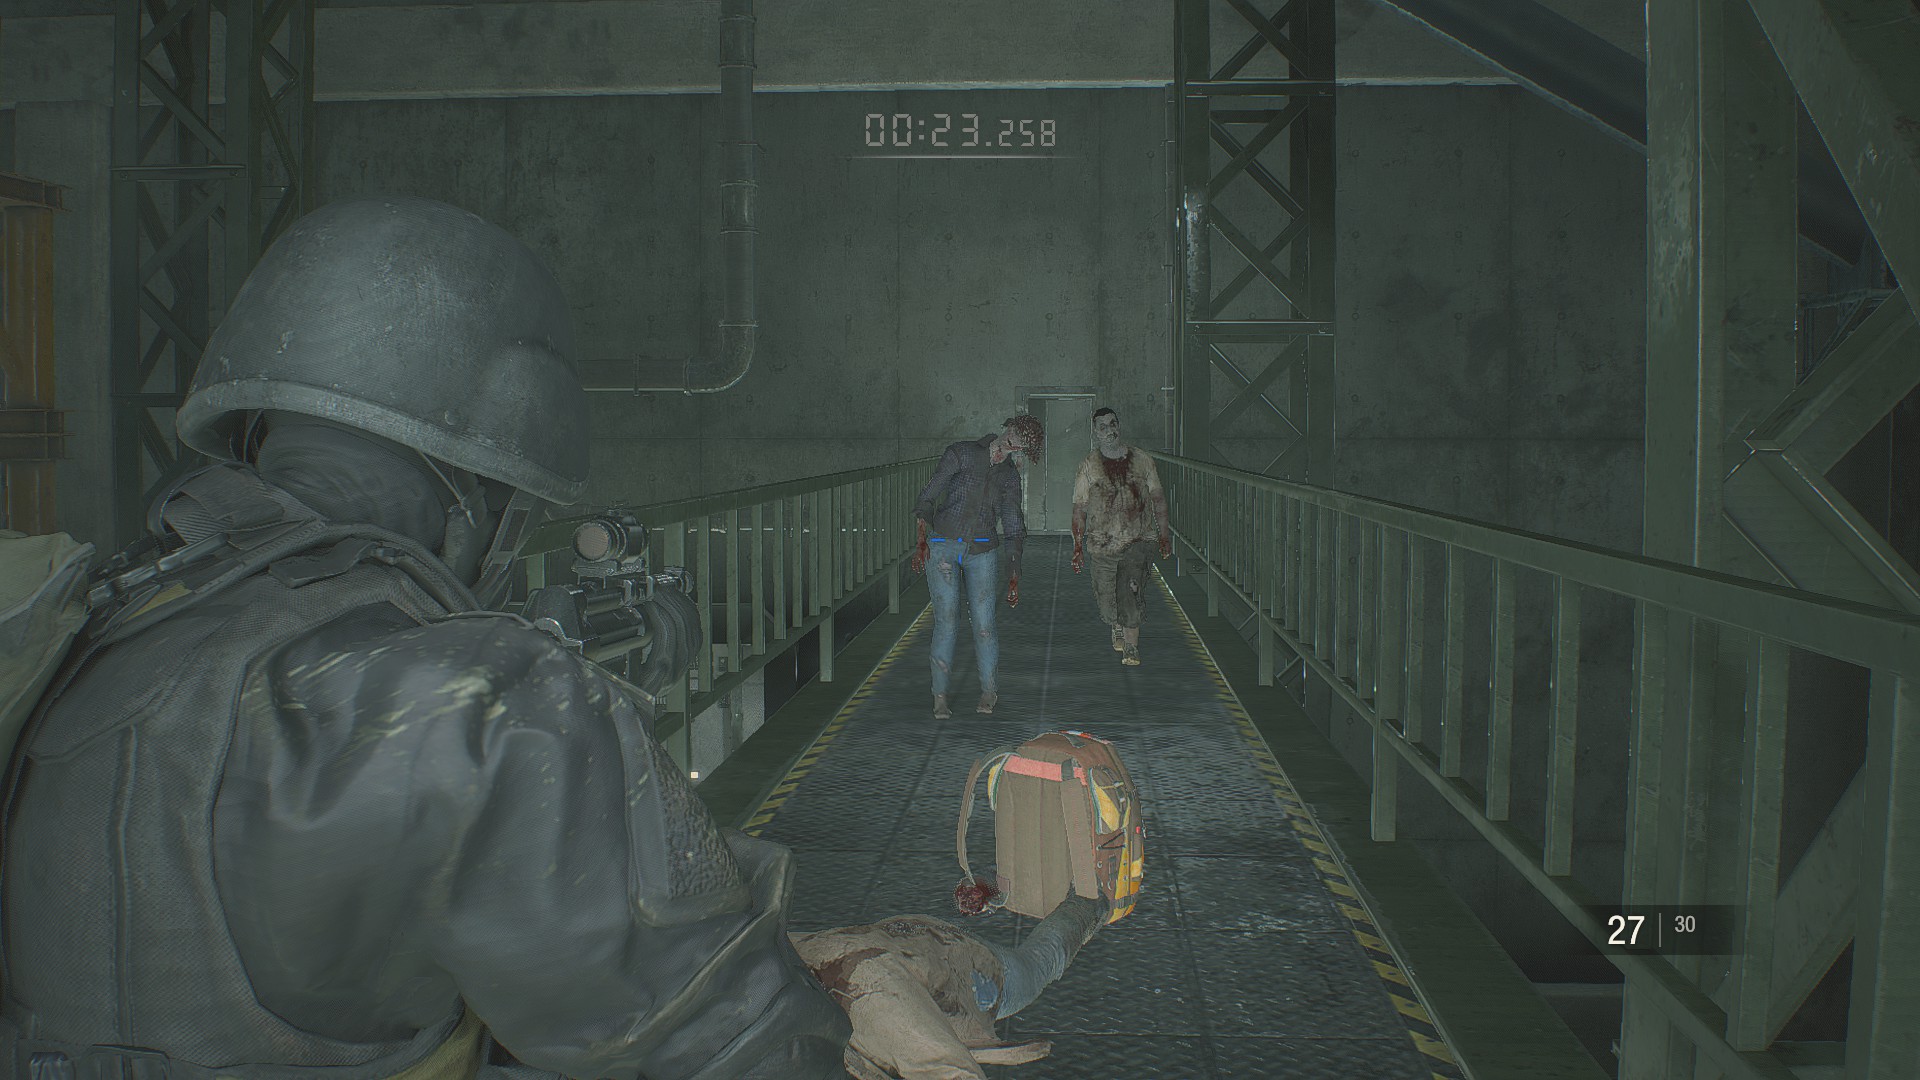
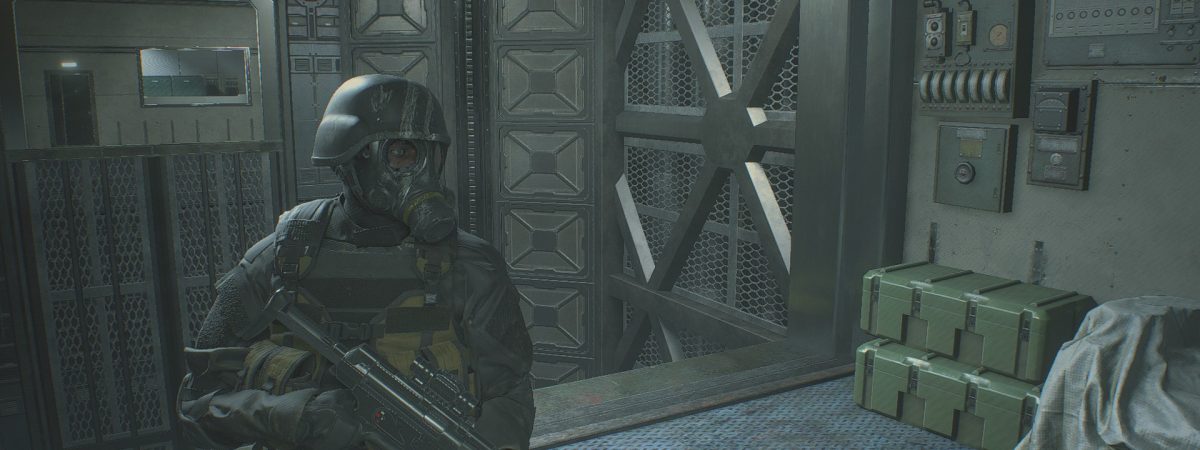
In Forgotten Soldier, players must guide an Umbrella soldier codenamed ‘Ghost’ out of the underground Umbrella NEST Lab. It’s not an easy journey, but utilizing the below tips and strategies can make it a bit easier.
Resident Evil 2 Forgotten Soldier Tips

The Forgotten Soldier scenario functions very much like the No Time to Mourn and Runaway scenarios before it. Players must brave a linear gauntlet of undead monstrosities all in one go, no checkpoints or saving allowed. Ghost Survivors’ included training mode can help you learn the scenario’s enemy compositions in a less intense setting. Once you’re ready to step out of training mode, the below tips should come in handy.
Disable A-Gear Zombies When Able
The Forgotten Soldier scenario includes a unique A-Gear zombie type which sports bulletproof armor. However, most A-Gear zombies are only partially covered by the bullet-resistant plating which means they can still be incapacitated.
If an A-Gear zombie’s legs are exposed, you can shoot them to turn it into a much less dangerous crawler. An A-Gear zombie with exposed arms can have its ability to grab (and thus bite) you nullified. Some A-Gear zombies are also helmetless which means they can be killed with a well-placed headshot.
Grab The Handgun
The very first item dispenser you reach contains a handgun which you should most certainly get. You might be tempted to grab the first aid spray but you should avoid the temptation. The default SMG you start the scenario with very limited ammo reserves.
Also, several tough enemy groups stand between you and the next weapon/ammo drop. You definitely don’t want to run out of SMG ammo and be stuck with no backup weapon. Lastly, the pistol is handy for disabling the plant zombies you’ll encounter later in the run.
Consider The Magnum
There’s a point in the scenario where you’ll reach an item dispenser with a shotgun, grenade launcher, and magnum. You can only pick one of the three to take, and personally I’d recommend the magnum. Not only does it have the most starting ammunition but it’s also the most universally viable (in my opinion).
A single magnum headshot can kill (or at least stagger) zombies even from long range. If you can preserve some ammo, the magnum also makes quick work of the final G-Shambler that guards the exit. Granted the magnum isn’t as good for attacking large groups of zombies as the grenade launcher. However, if you’re careful, you’ll never have to fend off an entire group all at once.
Rope-a-Doping with Mr. X
When you reach the reception room near the end of the scenario, you’ll have to deal with Mr. X. The unstoppable tyrant is waiting to ambush you in the side security room. However, he won’t come out until you approach the exit door (the one with the large green screen on it). Naturally the door opens super slowly, forcing you to avoid Mr. X’s clutches for several agonizingly long seconds.
Before you approach the door, deal with the other zombies in the room. Then, as soon as Mr. X emerges, sprint back over to the door you came through. As Mr. X is approaching you, sprint towards and slightly to the side of him. What you’re trying to do is trigger the animation where he grabs and then tosses you. It hurts, but not as much as when he punches you. Also, with luck, he’ll toss you over towards the exit door, allowing you to escape before he can attack again.


